Are you a freelancer who feels overloaded with admin tasks?
You can make your client onboarding and registration smoother by using a form tool to help.
In this post, I’m going to show you how you can use Jotform, in particular, to collect important client information. You set up a form template once and save hours of work to collect and manage client data.
This will allow you to focus on your actual tasks and keep a free and easy portal for new clients to keep coming in. Let’s go.
Why use a form tool to onboard and register new clients
I have worked as a consultant and freelancer for several years and find that the more organized you are, the better your client intake gets. It may seem like a small thing, but just adding or using a form tool for new clients can level up your branding and income. Here’s how:
- Offer convenience to clients: Avoid lengthy back-and-forth emails where details can be lost.
- Appear professional: Make a great impression on clients with a dedicated form page that looks good and invites engagement.
- Eliminate manual entries: You won’t have to copy and paste client details to track them.
- Link to a datasheet: Same as above. Collect all your client information to a single datasheet for easy analysis and manipulation.
- Create a consistent template: Offer a consistent user experience for all your potential clients to collect the same information like budget, project scope, etc.
- Scale up: Create one form and one link and use it for hundreds and thousands of clients.
Can you see how you save hours of work? But I don’t recommending using Google Forms when there are better alternatives for your freelance business. Next, check out how you can create a simple client onboarding form using a free and effective tool: Jotform.
Step-by-step way to create a client onboarding and registration form with Jotform
What to do:
1. Sign up with Jotform for free
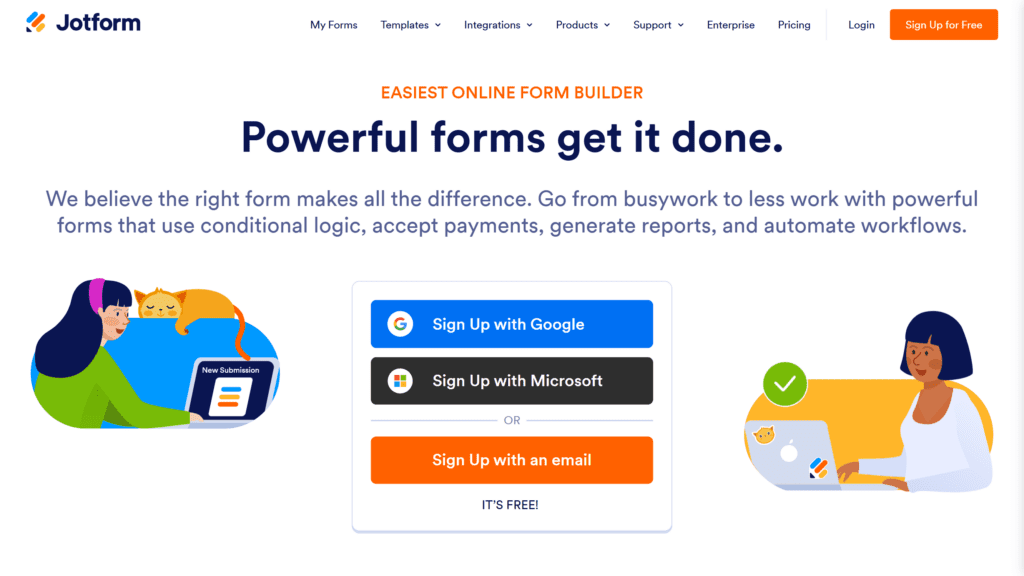
Head to the Jotform homepage and click a sign-up option that works for you.

2. Create a form on the My Forms dashboard
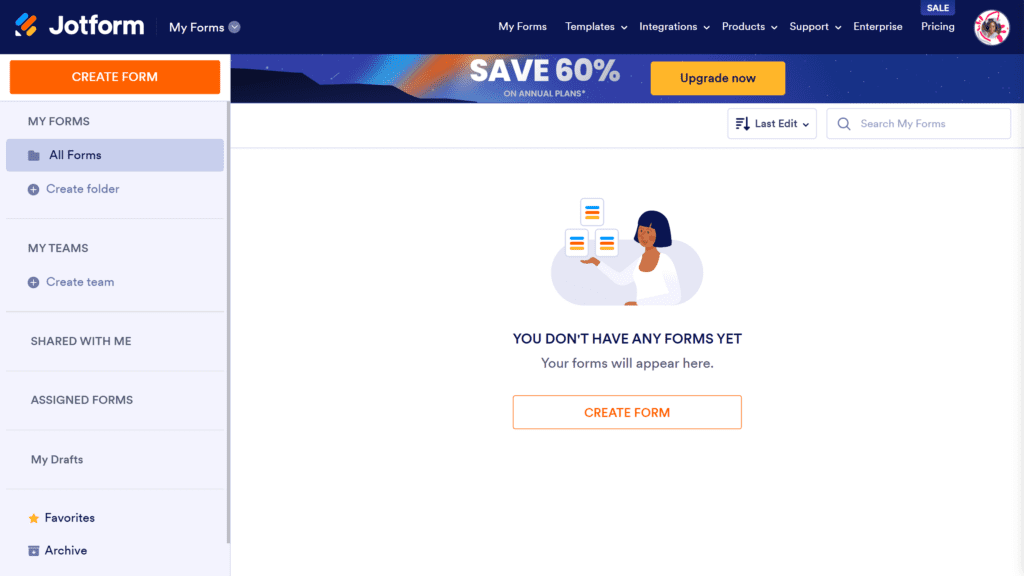
Once you sign up, you head straight to your dashboard where you’ll see the Create Form option. Click on it.

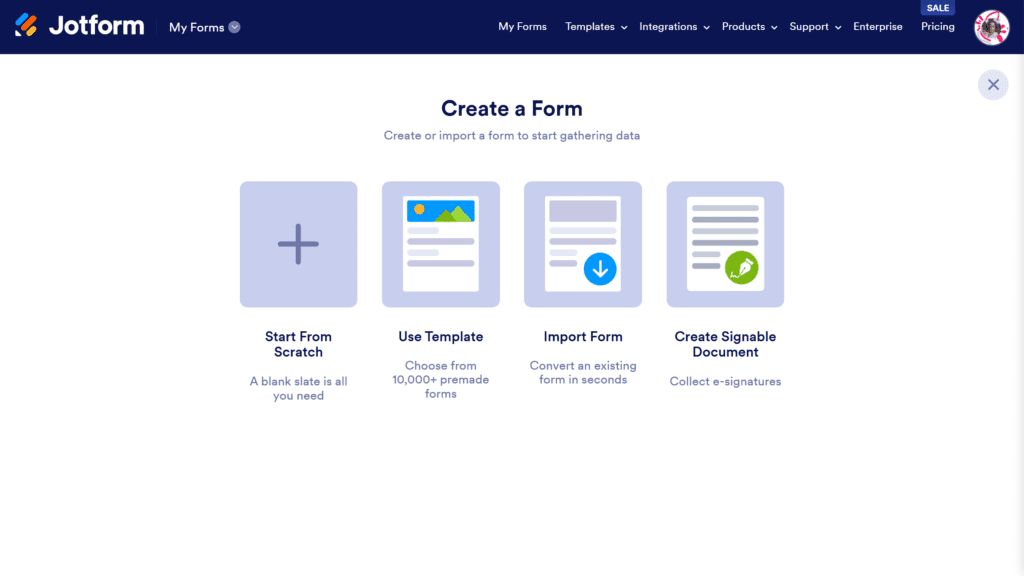
You’ll see that you can create a form from scratch or use a template.

At the very top is the New Customer Registration Form.
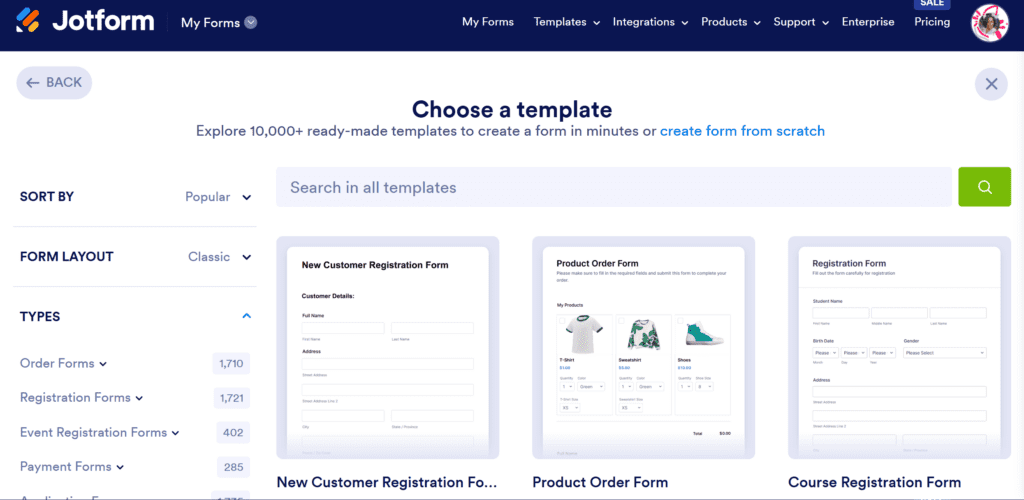

Click on it and select Use Template.
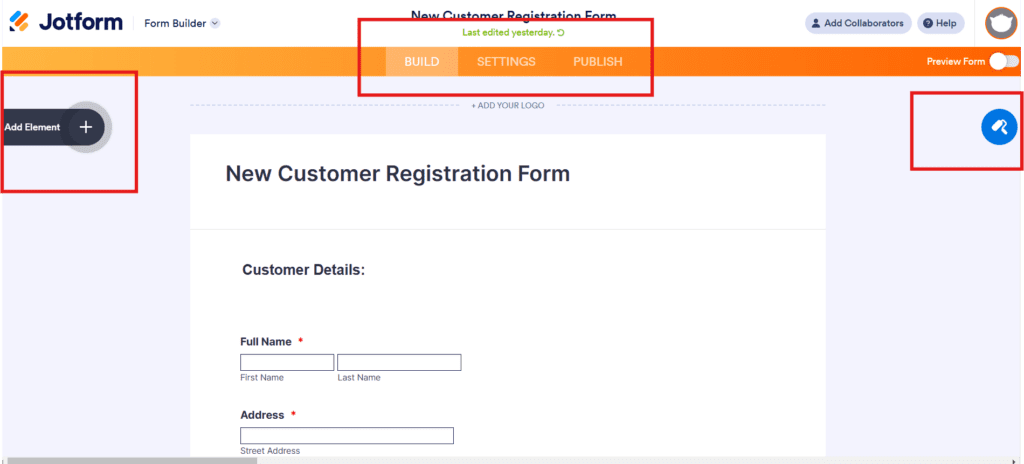
You’ll land on the builder page where you can edit the entire form. Here you can edit the form itself to collect customer information.
In the Settings Tab, you can manage your form name, form visibility, set up email forwarding, conditional logic, and create a Thank You page. We’ll break it down further next.

3. Customize your form
So far, it’s intuitive. But this is where the customizations you make matter.
Edit the form and do the following to create the best impact:
Add your logo
Click on Add Your Logo to upload a logo image. If you’re a freelancer without a brand name, you should create a signature-style logo with your full name.
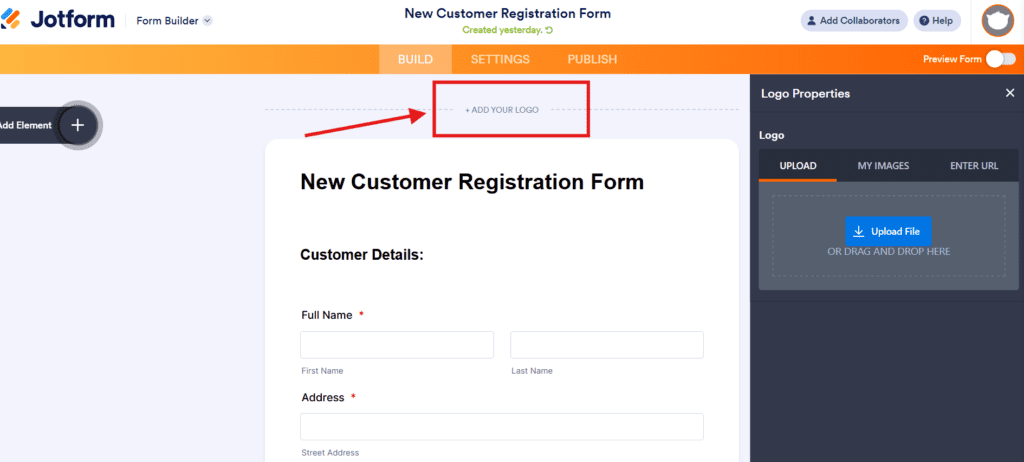

Adding a logo will personalize your form and connect with your client at a subtle level.
Customize your form name
Get clever (but not too clever!) with your form name. Instead of just ‘new customer registration form’, you could title it “Sign-up form for my social media services”.
Keep the title simple and meaningful. Clients filling it up should know what they’re giving their information for.
Ask the right number of questions
If you’re at the early stages of building a relationship with a client, you should ask a few basic details like their name, email address, a few project details, and anything you need to get started.
Too many form fields will put people off.
On the other hand, you save time by asking a few additional details. For example, if you only work with clients who have a budget of $10,000 and above, then asking them for a budget upfront will help you manage your work better.
Use your brand colors and visuals
Jotform lets you change the page color, the font colors, styles, layouts and so on.
Choose colors that match your overall brand and even add CSS for fine customizations.
4. Create an effective Thank You page
Most forms just have a message show up saying ‘Your form has been submitted’.
While this is good enough to let clients know they’ve successfully sent their info, it’s also a missed opportunity.
Instead, have your form lead to a Thank You page. Here, you acknowledge that your client has registered or onboarded.
And you add extra information you think can help – for example, links to blog posts they can read, a request for referrals, and so on.
Creating a Thank You page with Jotform is easy. Hit Settings on your form builder and add some text and visuals.
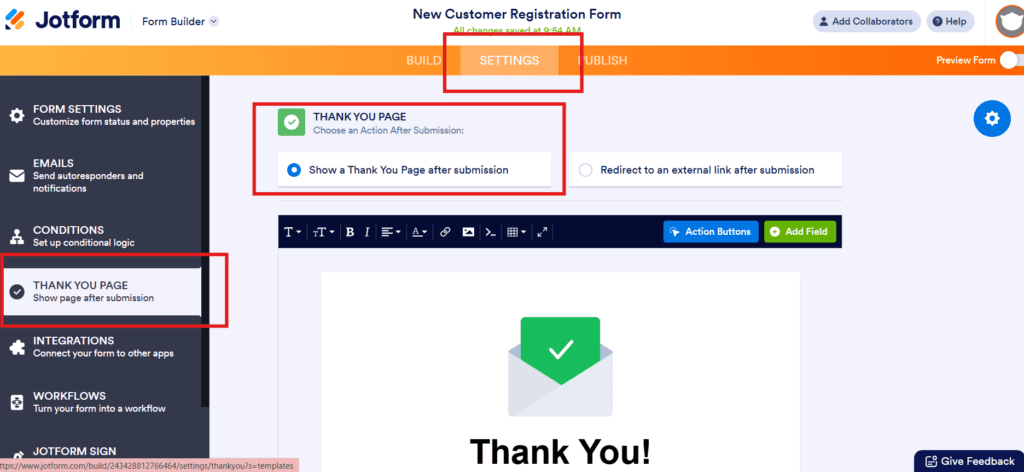

You can also set it up so that clients go to a page on your website by using Redirect to an external link after submission.
This option is useful if you want to redirect clients to a payments page, your social media, or some other webpage.
5. Set up Autoresponders to email clients
Once a client registers or onboard, you shouldn’t let the interaction dry up.
You can create follow-up material such as a welcome package, reading suggestions, downloads, or just an acknowledgment email separate from the thank you page.
Under Settings in your Jotform click on Emails.
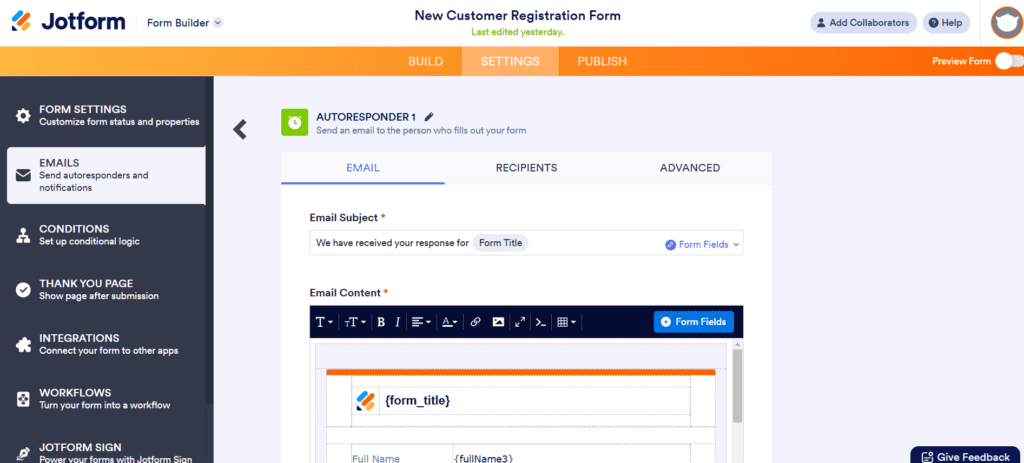

You can edit the email your clients will receive as soon as they submit a form.
This is a chance for you to really customize a reply!
For example, you could create a subject line as follows “Thanks {first_name}. You’re onboarded!”
And you can ask follow-up queries in the email body like what their goals are set up a meeting with a Calendly link.
Using Autoresponders is just a clever way to brand yourself with automation and communication. So, make sure you use it!
6. Publish and share your form!
There are other tools in Jotform I haven’t covered here.
For example, you could use Conditional logic for deeper questions. And you could create Workflows linking a client’s action to payments, signings, a downloadable PDF and other tips. Feel free to explore these options yourself.
But if you’re ready, just hit the Publish button and make sure you share your form.
You can:
- Embed it into your website. No need for a form plugin!
- Use a link and share it via email or social media.
- Directly email your form.
- And finally, publish it via Canva, Facebook, and many other third-party tools.
Why use Jotform
There are many form tools out there and you can try them out yourself, but it’s unlikely you’ll find any as simple but effective as Jotform.
And wildly enough, the features you get are for free! Most tools are free but have low-quality features or are powerful but gated behind a high price point. This alone is enough to make Jotform a go-to for you.
But let’s look at more reasons to use this tool:
- Easy and intuitive: You can literally sign up and start rolling out forms to streamline client intake in minutes.
- Free features: Autoresponders, designs, conditional logic, workflows, and other features are free. It’s actually ridiculous. I know companies paying hundreds of dollars a year to use these features with more limitations.
- Publish a live form anywhere: You build your form on Jotform but then add it to your website, share it on social media, and share it via links and in emails.
- Beautiful and clean interface: The form looks great. It’s head-and-shoulders above Google Forms and other tools.
- Integrate with CRMs and other tools: This is great for agencies and bigger businesses that want advanced features.
- Other features: Create a fillable PDF, build workflows, set up payments, and do much more.
- Create signable contracts!
- No need to add a plugin to your WordPress site!
Make an impact on clients with Jotform to onboard them
I’m frankly surprised by how much Jotform has to offer to anyone running a freelance or consultancy business. Especially if you have limited abilities to scale your marketing.
You essentially have a free tool you can leverage to create a smooth onboarding experience for clients. I don’t know any other tool that does this for free.
So, give it a try and start collecting your client info with Jotform!


Jotform
There are few tools out there that give so much for free. Make your freelance and consulting brand appear reliable and professional from the get-go. Register clients with Jotform.
(So you know, I use affiliate links to support my work. If you click on any of the links here and make a purchase, I get a small commission and it doesn’t impact the price for you at all.)


